- Dec 9, 2025
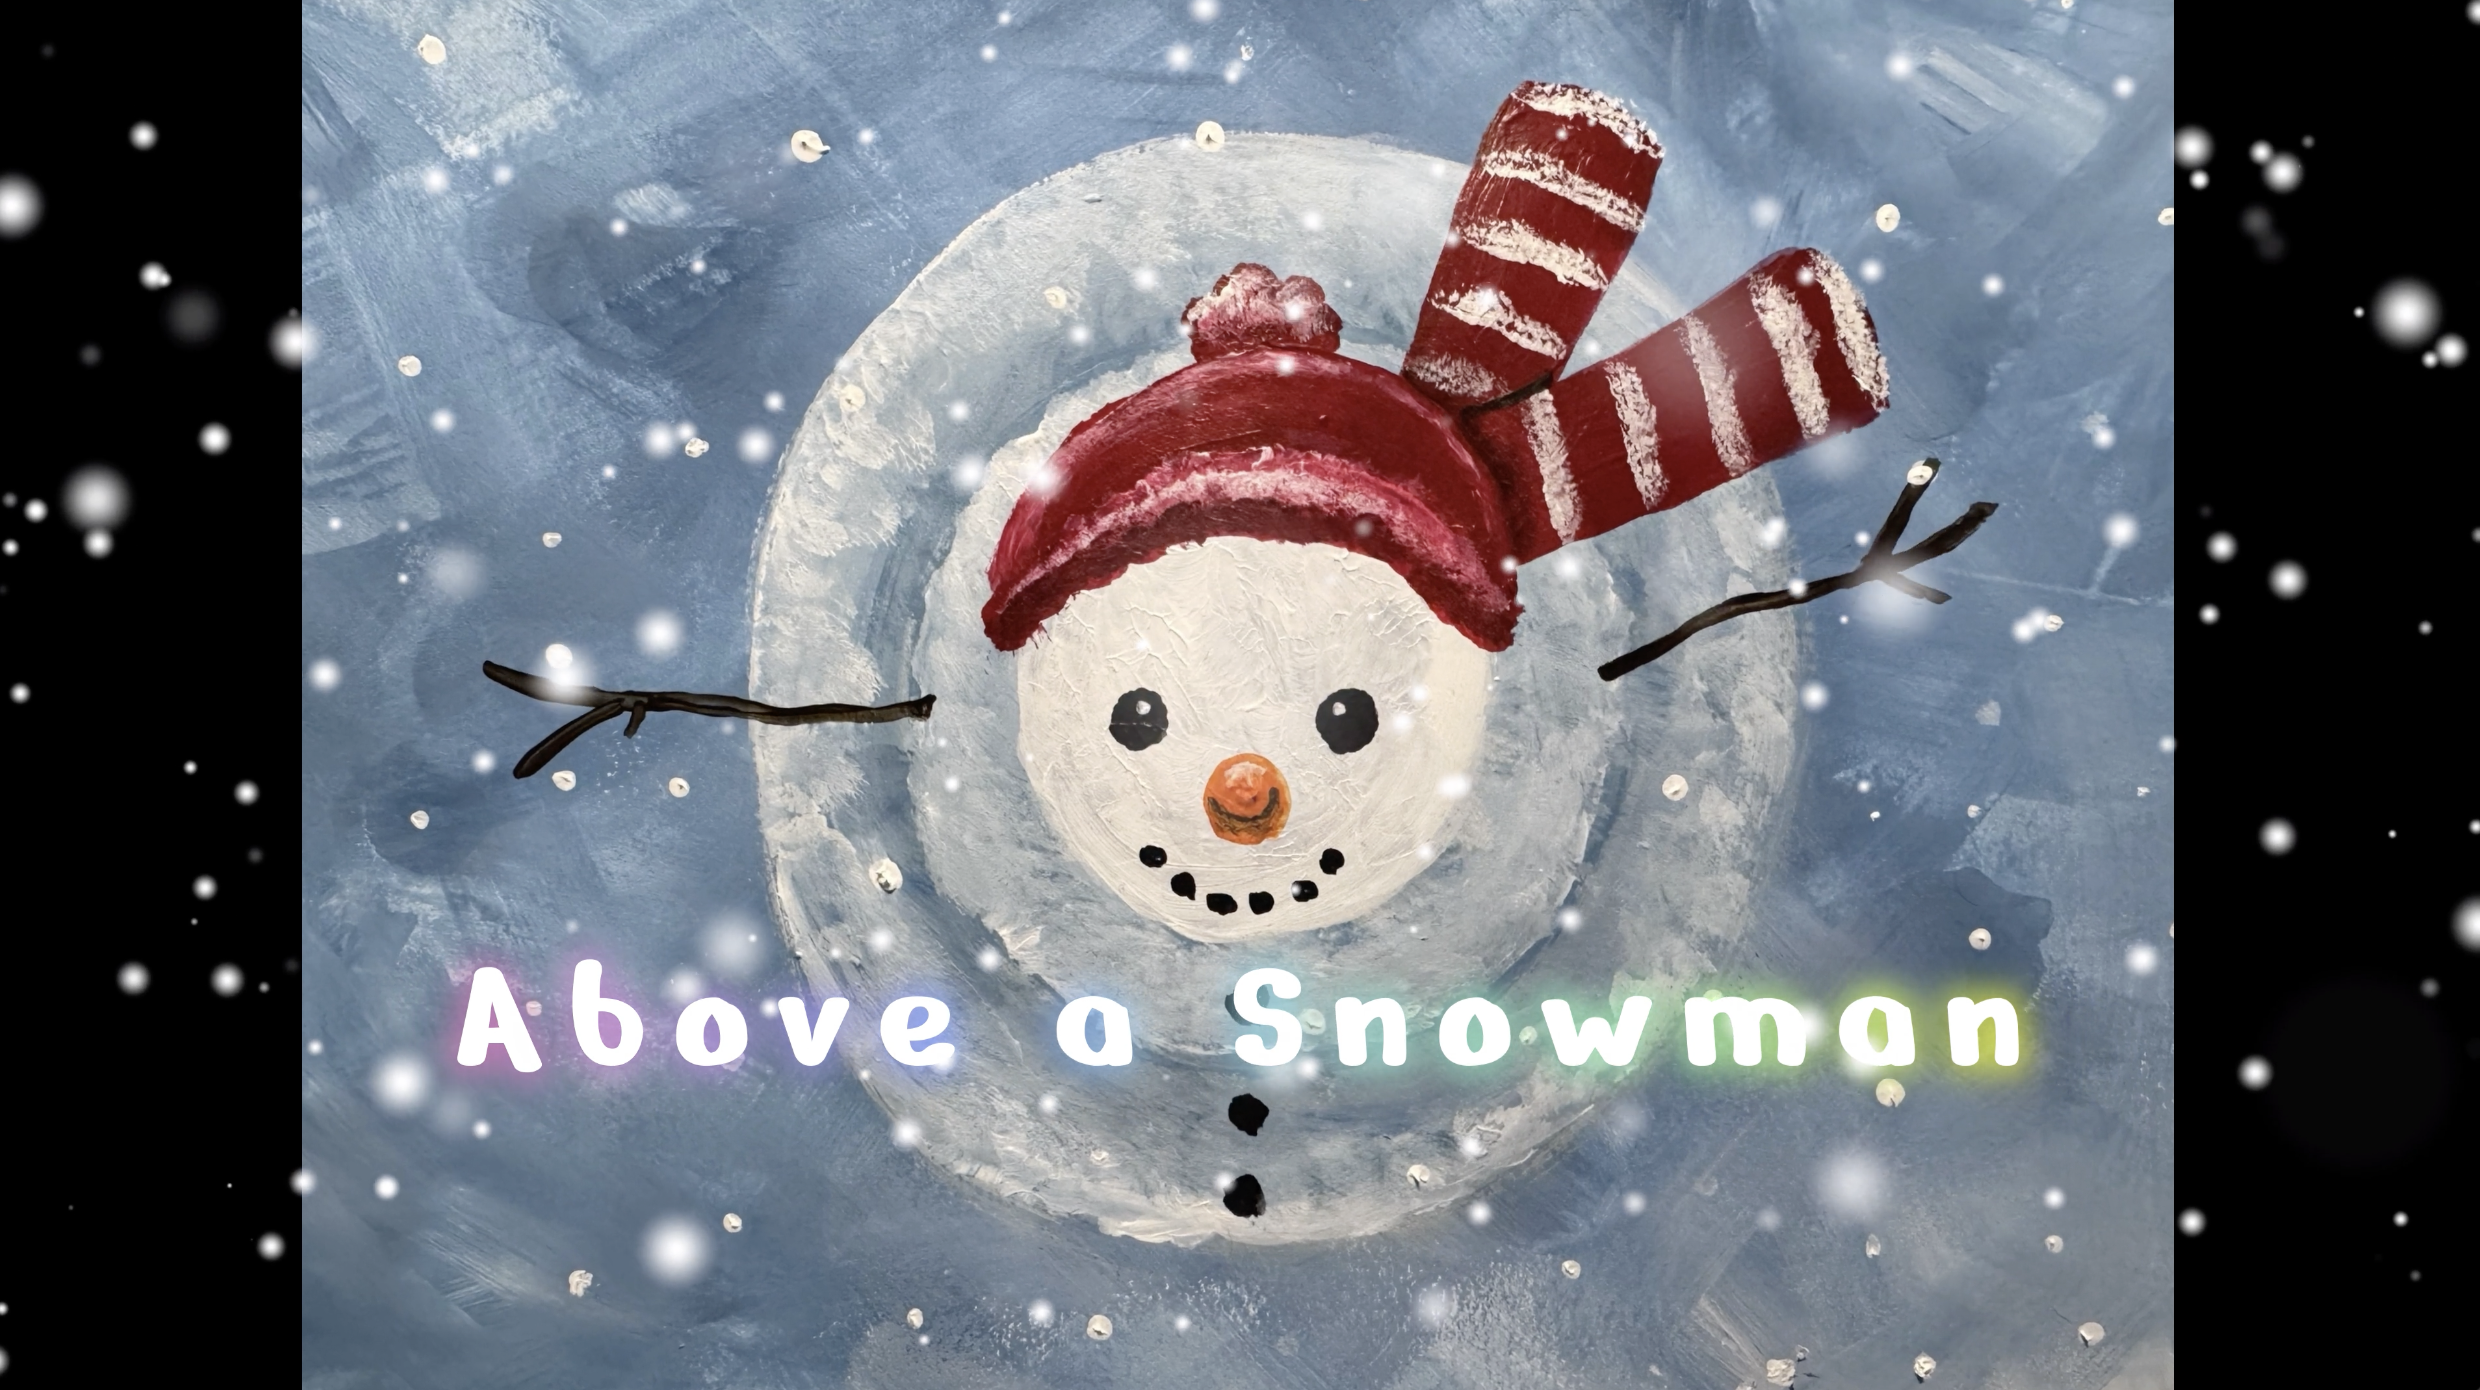
Lesson Plan: “Above a Snowman” Acrylic Painting
- Ms. Jes Hello Homeschool Art
- Art Projects
- 0 comments
Grade Level:
Elementary–Middle (adaptable for all ages)
Estimated Time:
Intro & demo: 5–10 minutes
Painting base layer: 10–15 minutes
Snowman circles & shading: 15–20 minutes
Drying time (natural or blow dryer): 5–10 minutes
Face, accessories & details: 20–25 minutes
Snowflakes & finishing touches: 5–10 minutes
Cleanup: 5–7 minutes
Total: ~60–75 minutes (you may extend to 90 mins for younger groups)
Learning Objectives
By the end of this lesson, students will be able to:
Art Techniques & Skills
Use acrylic paint layering to create texture and implied depth.
Demonstrate double loading skills using white + blue to create a dimensional snow base.
Apply dab-and-lift brush techniques to simulate snow texture on the snowman.
Use the back of a paintbrush to create controlled dot textures (snowfall).
Art Concepts
Understand foreshortening and perspective by painting a snowman viewed from above.
Explain how contrast and value shifts create a sense of form (brighter whites appear closer).
Apply shading and highlighting to hats, scarves, and accessories for a more 3D effect.
Observe how shape changes with point of view (ex: the carrot nose becomes a circle from above).
Creativity & Expression
Make individualized design choices in accessories, colors, and added details.
Express personal style while following structured steps.
Required Materials
Surfaces
Mixed media paper (recommended)
OR canvas, canvas board, cardstock, or cardboard. You can use any surface that handles acrylic well
Paint & Tools
Acrylic paints: blue, white, black, orange, brown, plus other colors for hat & scarf
-
Paintbrushes:
Medium flat or round brush for background
Small detail brush for face and accessories
Back end of a brush for snowflakes
Water cup
Paper towels or cloth
Palette (paper plate works)
Optional
Reference images of winter hats, scarves, and stick arms
Aprons/smocks, table cover/protector
Lesson Procedure
1. Intro (Perspective & Texture) – 5 minutes
Explain that students will paint a snowman from above - a bird's eye view perspective. The snowman will even be joyfully looking up - a rare and exciting angle to imagine a snowman!
Show how viewing the snowman from above changes shapes (circles get closer together, carrot nose becomes a circle, etc.).
Introduce acrylic techniques: not premixing blue + white, creating texture by dabbing, and layering from darker to lighter values.
2. Background Snow Base – 10–15 minutes
Slightly wet brush; dot some blue and white on paper, and load brush with blue and white without premixing.
Make random crisscross “X” strokes across the surface.
Encourage visible streaks, marbling, and variations that will help create realistic snowy shadows and highlights.
The base will appear more blue than real snow, and that’s what we want! It suggests shadow and will give us more range for our snowman.
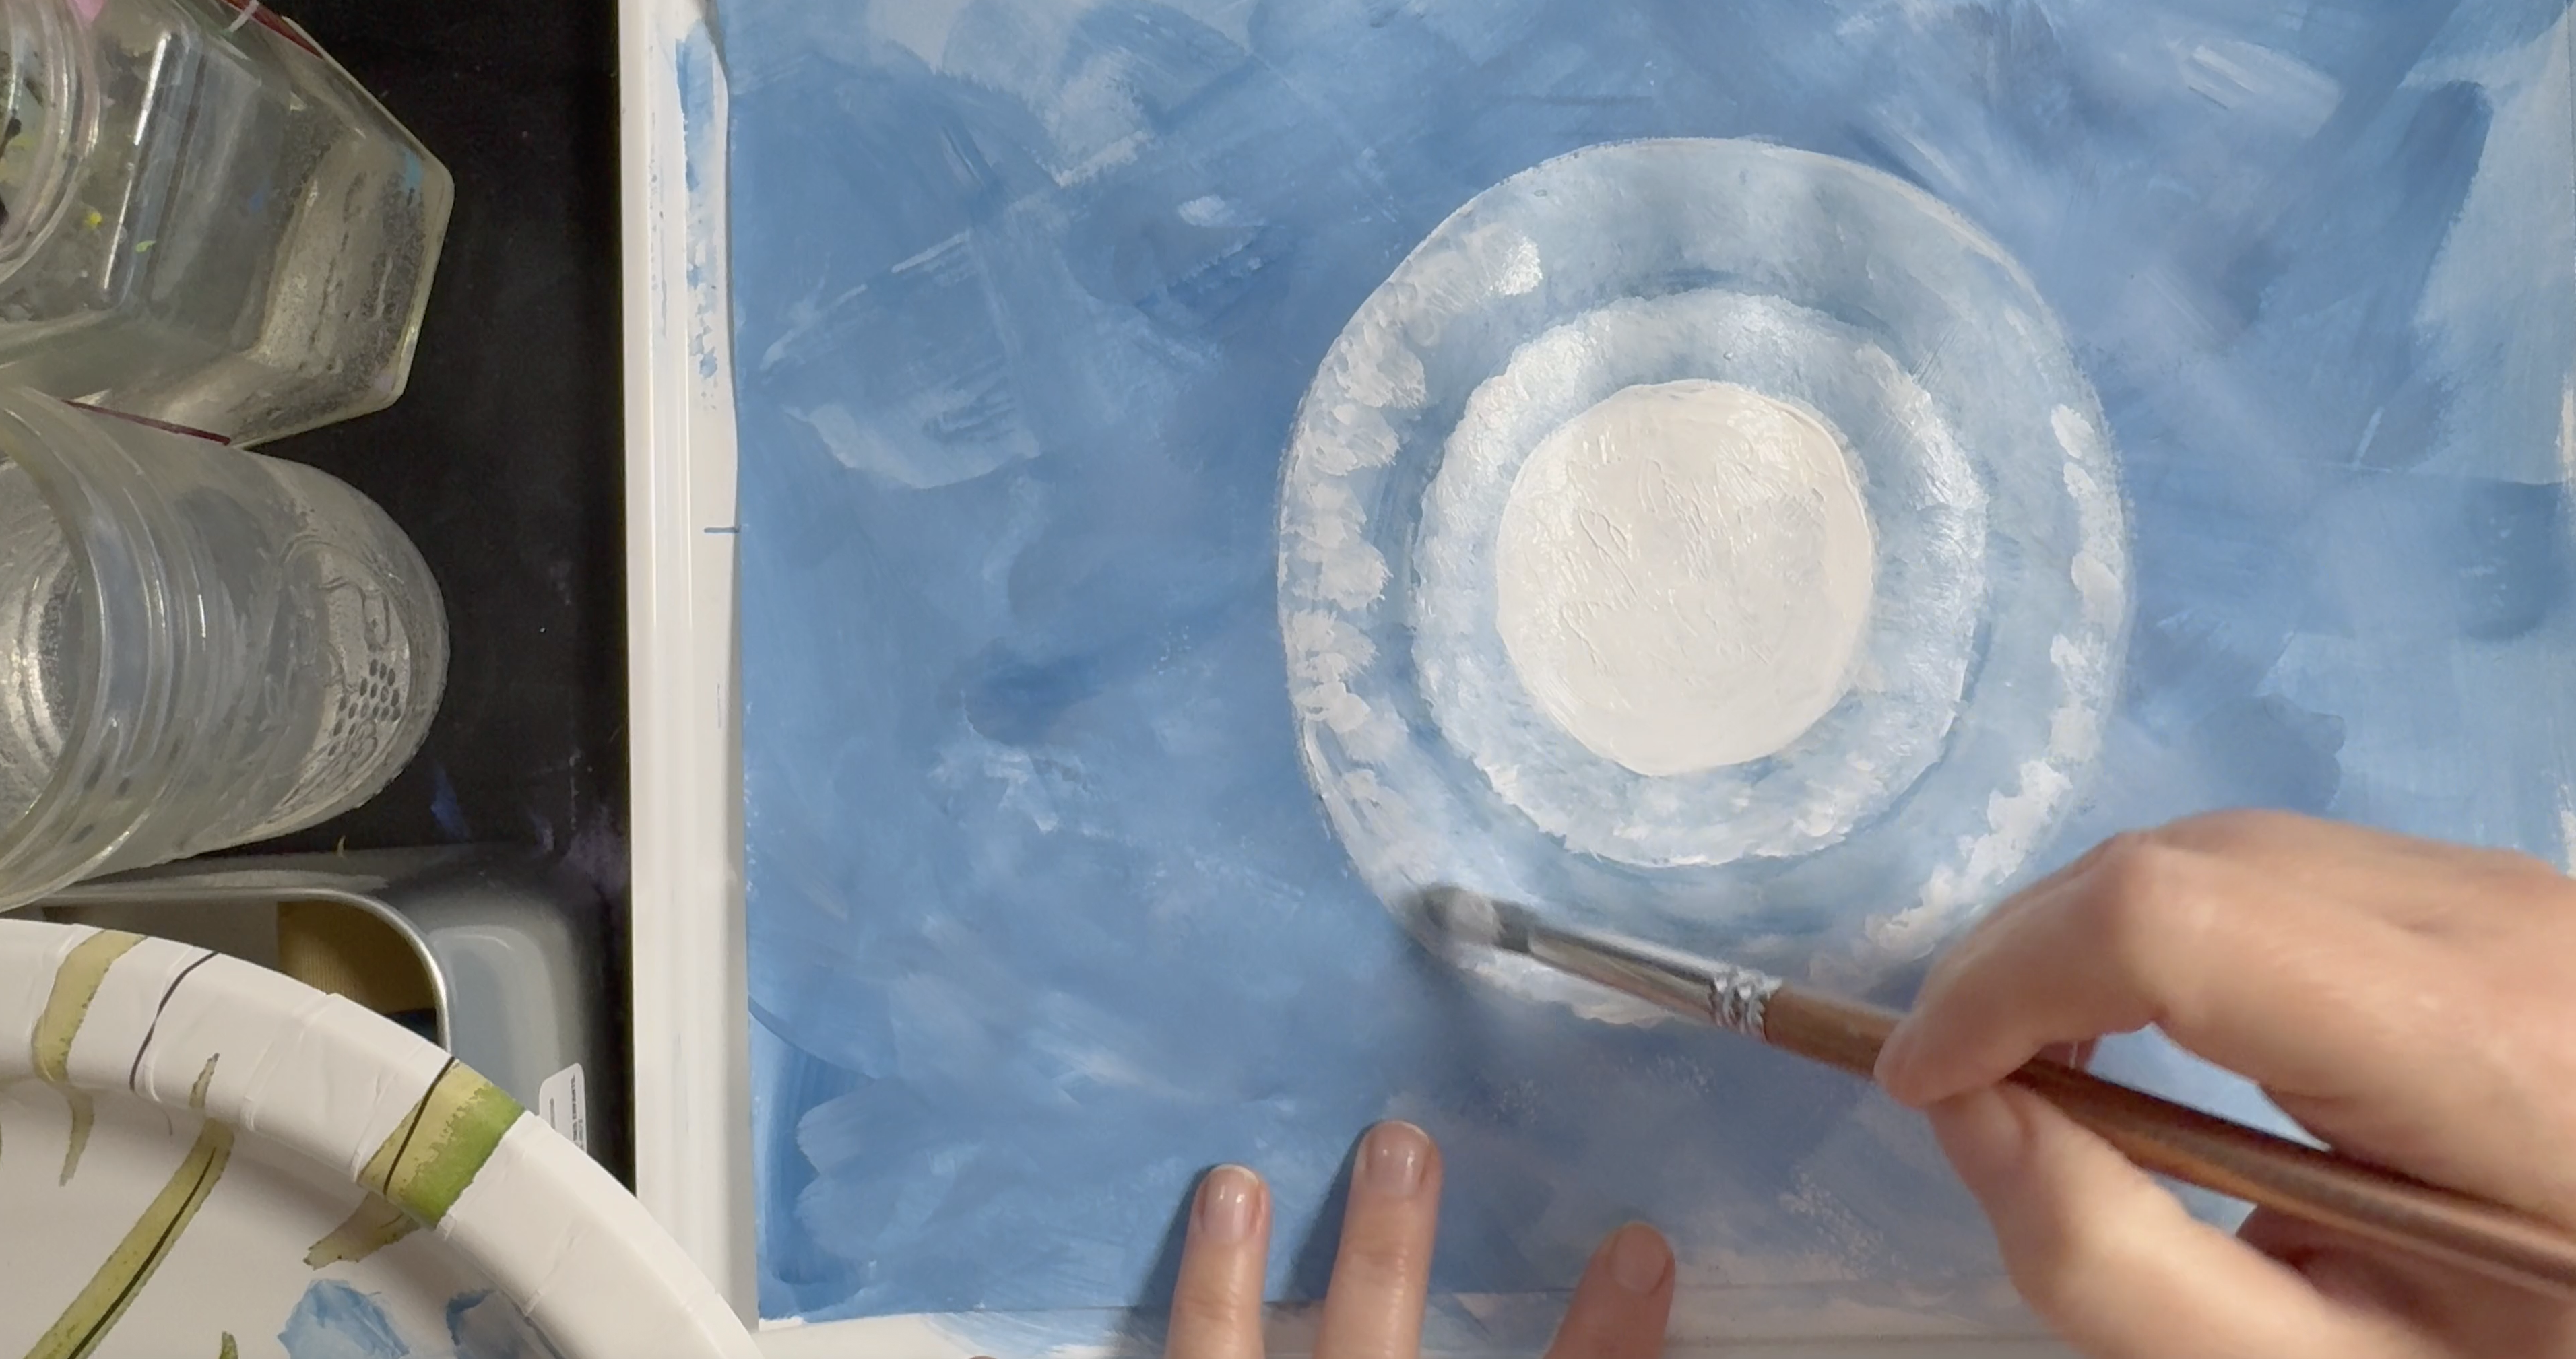
3. Snowman Shape & Value Shifts – 15–20 minutes
Paint three nested circles in white:
Largest (body base)
Medium (middle section)
Smallest (head)
Spacing should be tight to show closeness to the viewer.
Fill circles with value changes:
Bottom circle: blue + white mix, slightly brighter than background
Middle circle: mostly white with a hint of blue
Top circle: pure white
Encourage students to dab with a dry or nearly dry brush rather than smear to get textured “snow.”
4. Dry Time – 5–10 minutes
Allow paint to set enough to add details cleanly. Could be planned for next day if needed.
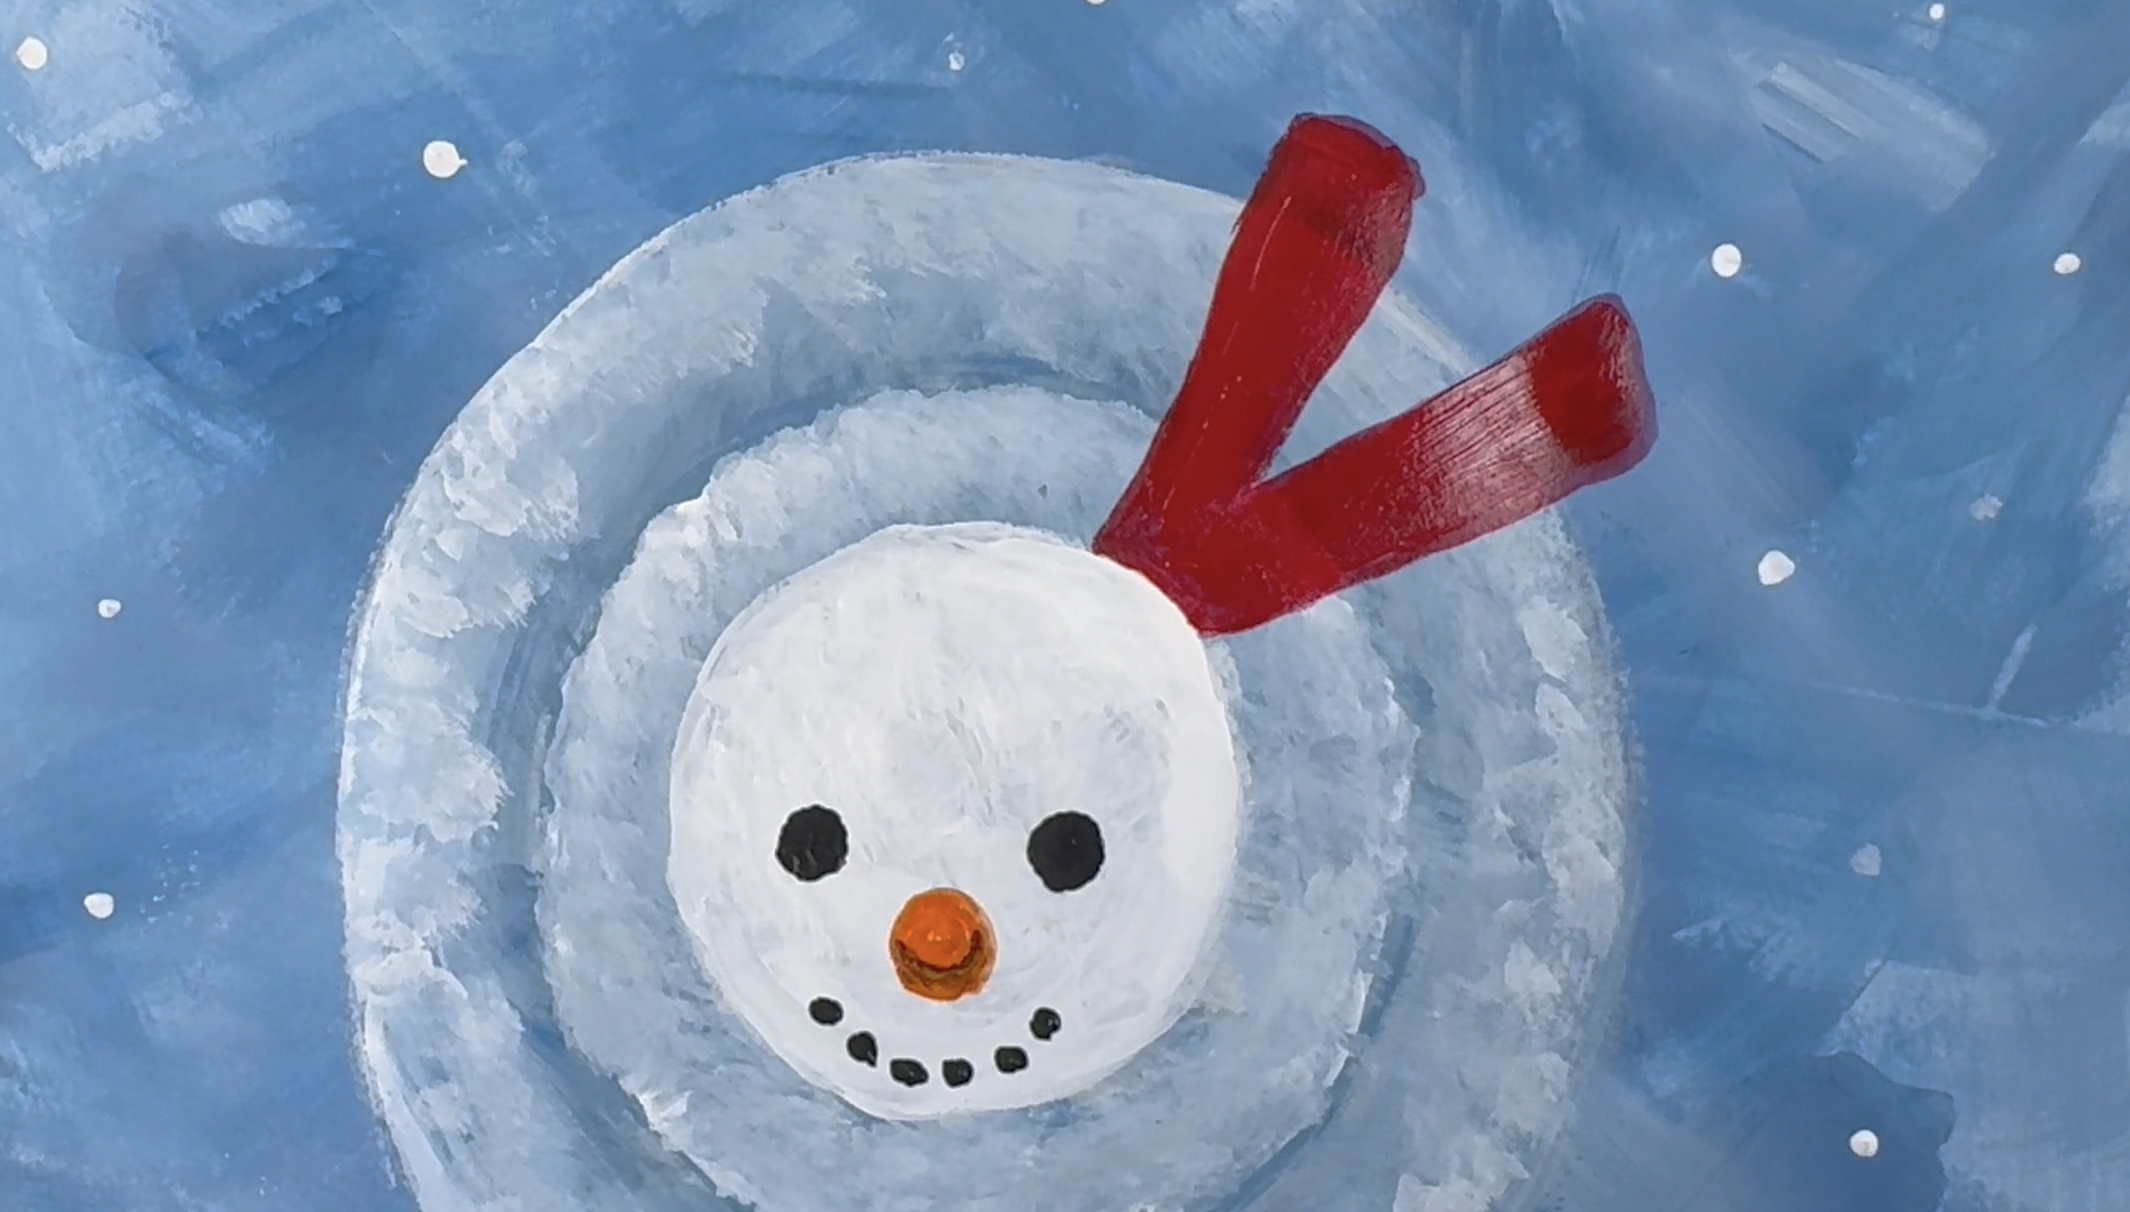
5. Face & Body Details – 20–25 minutes
Coal eyes + smile (black)
-
Carrot nose from above = a circle, not a triangle
Add a tiny shadow curve under it and a highlight on top
Add coal buttons if desired
Create scarf using two rectangles flowing outward from the head circle
-
Paint winter hat in any style (beanie, pom pom, earmuffs, etc.)
Add white for highlights
Add black or darker tones for shadows
Add stick arms (slightly curved, knobby, imperfect)
Optional: Add pattern details to scarf or hat once dry.
🥕 The carrot is a great learning opportunity. To visualize why it's a circle, have students hold their pointy pencil and turn it to view it with the pointed tip facing them. Like the pencil, the pointy carrot will appear to be a circle shape from that angle.
6. Snowflakes & Finishing Touches – 5–10 minutes
Use the back of the paintbrush dipped in white paint to dot falling snow
Dot snowflakes across the entire scene. Don't forget some on the snowman!
Add any additional designs the student imagines
Assessment Criteria
While I tend to be a big fan of letting young artists go wild with their own interpretations, and I encourage and appreciate their own ways to explore art, I also understand some teachers are required to assess their art students. When assessment is necessary, here are some areas to review:
Understanding of Techniques (Performance-Based)
Student used layered blue + white strokes to create a textured snowy background
Proper value progression on the snowman (darker → lighter as it goes upward)
Successful use of dabbing technique for snow texture
Snowflakes created using controlled dotting
Understanding of Perspective
Three circles show correct size relationships
Carrot nose painted as a round shape (not a triangle)
Accessories placed so the viewer is clearly looking from above
Creativity & Expression
Student added personalized colors, patterns, accessories, or background details
Work reflects effort, care, and thoughtful choices
Craftsmanship & Completion
Painting shows attention to clean edges where needed
Student completed all major components of the snowman
Work is dry, neat, and ready to display
Cleanup Procedure (5–7 minutes)
Rinse brushes thoroughly, reshape bristles
Wipe tables, palettes, and paint areas
Dry brushes on paper towels
Collect water cups and dispose of dirty water
Return materials to designated area
Ensure paintings are placed flat to dry
More lessons are available to families in my FAMILY ART CLUB!
Join to gain access to dozens of lessons, plus a new video weekly.
My membership lessons are housed inside a special member's only library.
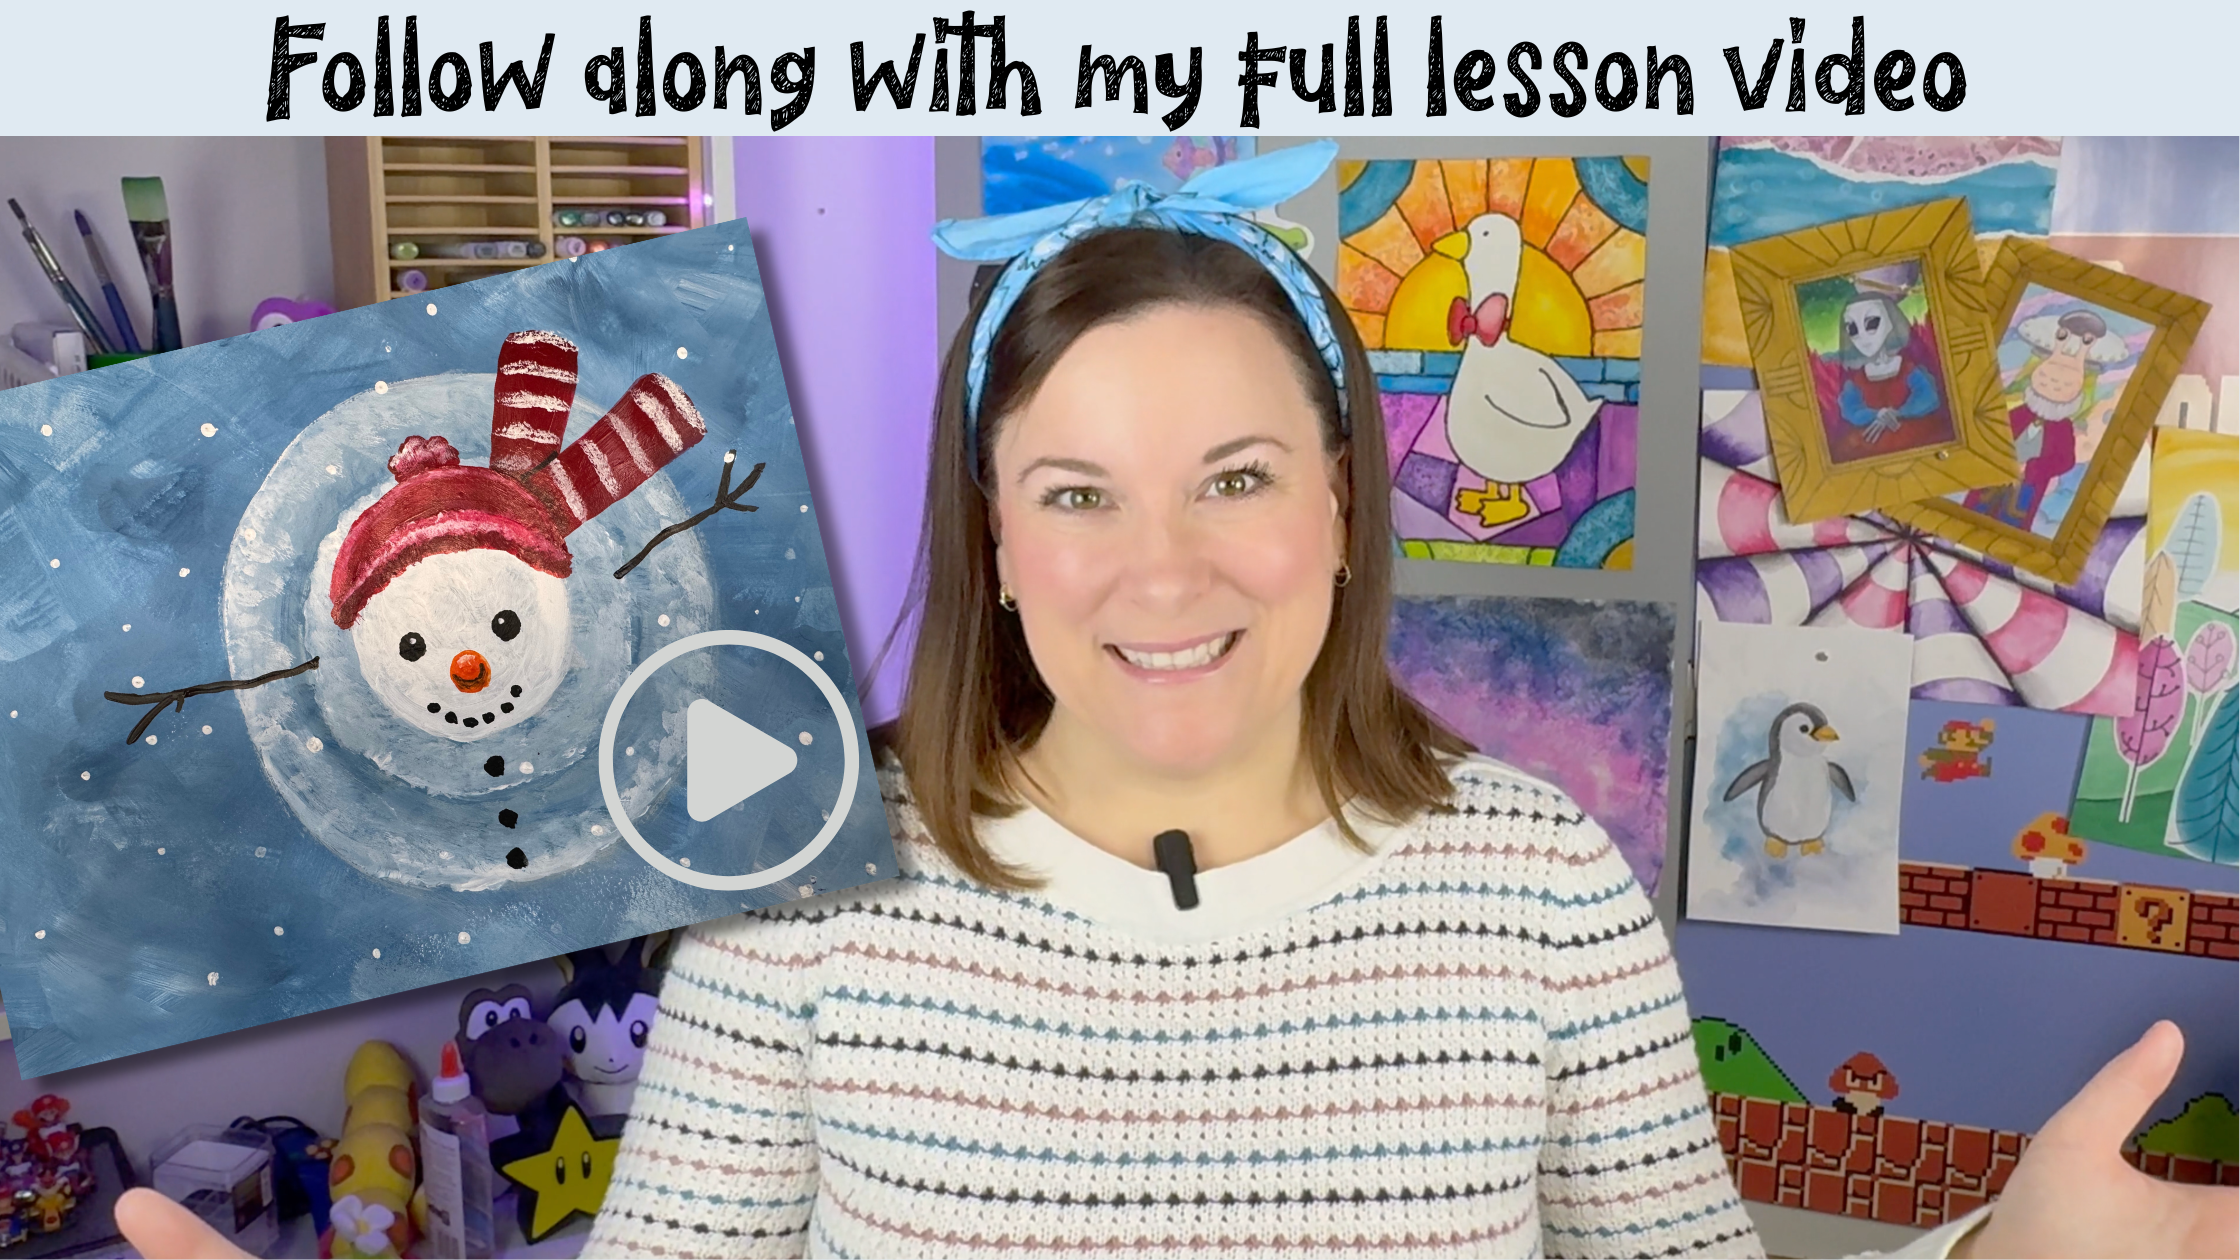
I've made this single lesson available to the public as a special preview on YouTube. Click to view the full lesson:
You don’t have to be an artist...
...or raise a professional one - to make art a beautiful part of your homeschool.
Hello Homeschool Art is designed for all kids, with weekly video lessons that spark creativity, grow confidence, and gently introduce technique through fun, no-pressure projects. Whether you follow the curriculum or pick lessons based on your child’s interests, you’ll have everything you need to make art time simple, flexible, and genuinely fun.
👉 Start your child’s creative journey today starting at $15/month per family
More Blog Posts